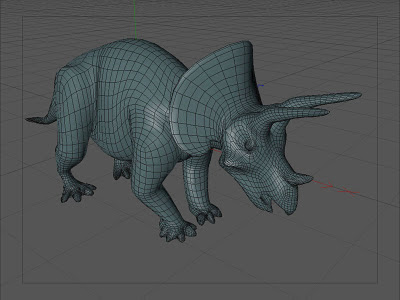
 |
| The model in its latest iteration. This is a polygon mesh sitting within a symmetry object, itself sitting within a hypernurbs object. |
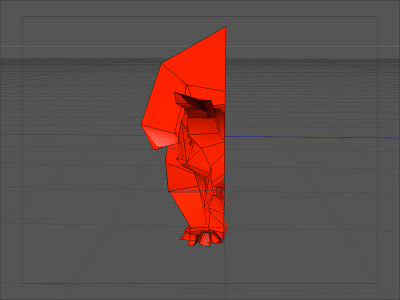 |
| The model looking down the sagittal plane. |
As the screen shots show, I've only modelled half of the dinosaur and this is because I will use a symmetry object to mirror the mesh and create a whole model. This saves a huge amount of modelling time but does have some drawbacks, in that you mush keep an eye on the z-co-ordinates of your sagittal plane points or the mesh will have holes, gaps or puckers along the centre, and when finalised will have problem areas that will need fixing.
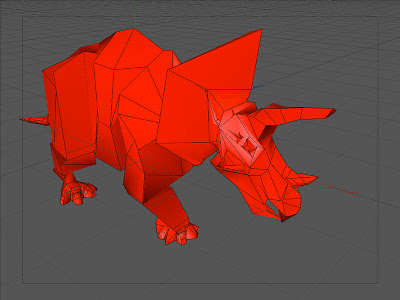 |
| Half a dinosaur: the mesh in it's raw form. |
This mesh is then nested first in a symmetry object and then in a hypernurbs object. The hypernurbs object rounds the geometry in an organic fashion and each polygon, edge and point on the mesh is weighted and this weighting can be adjusted to add or reduce the objects influence, for instance the tips of the horns are virtually unweighted to make them pointed whereas the points making up the edge of the frill are left at the default settings giving them an organic curve.
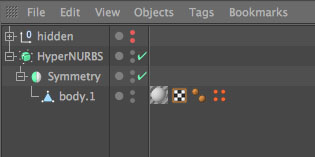 |
| The mesh nested in a symmetry object, itself nested in a hypernurbs object. |
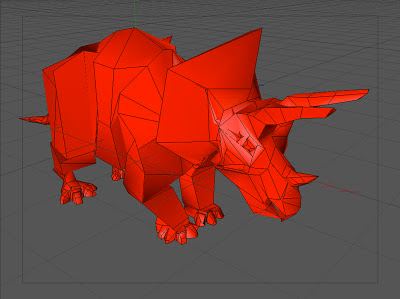 |
| The model with the symmetry object activated. |
The form is roughed out and refined in stages to create the shape of the animal. This involves pushing and pulling points and polygons, constant referral to the reference and turning the hypernurbs and symmetry objects on and off to check your progress and make manipulation easier. At this stage we want to keep the polygon count as low as is possible so things don't become too confusing and it is worth getting onto the habit of making incremental saves of the project as you go along so if it does get muddled or looks wrong you can go back to a previous stage and restart.
The movie above shows a 360-degree rotation of the model at this stage. It doesn't need to be perfect at this point and should be devoid of detail, which will be added later. Of course, it needs to be as anatomically accurate as possible and any comments on this subject are most welcome.

Thanks for the shout-out Stu! The main reason I prefer the planar approach is it helps my brain in controlling where I want circular edge flows - particularly around the mouth and eyes. This is just in thinking ahead for deformation. I have some examples here which show timelapses of my process:
ReplyDeletehttp://vimeo.com/24945634
and for a more paleo-themed example:
http://vimeo.com/29406999
Looking good so far! Topology looks pretty clean!
-Evan
Great videos - I'm going to have to try that modelling technique, starting tomorrow! I'll post the results if they're reasonable.
ReplyDeleteThe topology is quite clean but needs a couple of tweaks before I take it into zBrush, which I'm looking forward too.
Stu
That is very impressive. I especially like the video view of your horned dinosaur!
ReplyDelete